Brookstone i-Convert Instruction Manual
Browse online or download Instruction Manual for Scanner Transparancy Adapters Brookstone i-Convert. Brookstone i-Convert Instruction Manual User Manual
- Page / 20
- Table of contents
- TROUBLESHOOTING
- BOOKMARKS
- Portable Document 1
- TABLE OF CONTENTS 2
- SAVE THESE INSTRUCTIONS 3
- BATTERY PRECAUTIONS 3
- LCD SCREEN ICONS 5
- INCLUDED ACCESSORIES 5
- INSTALLING THE BATTERY 6
- FORMATTING YOUR microSD CARD 6
- CALIBRATING THE SCANNER 7
- SETTING THE RESOLUTION 7
- SETTING THE TIME AND DATE 8
- SETTING THE SCAN MODE 9
- SCANNING 9
- VIEWING YOUR SCANS 10
- PC only) 12
- SPECIFICATIONS 13
- SPECIFICATIONS (CONTINUED) 14
- TROUBLESHOOTING 16
- ONE (1) YEAR LIMITED WARRANTY 18
Summary of Contents
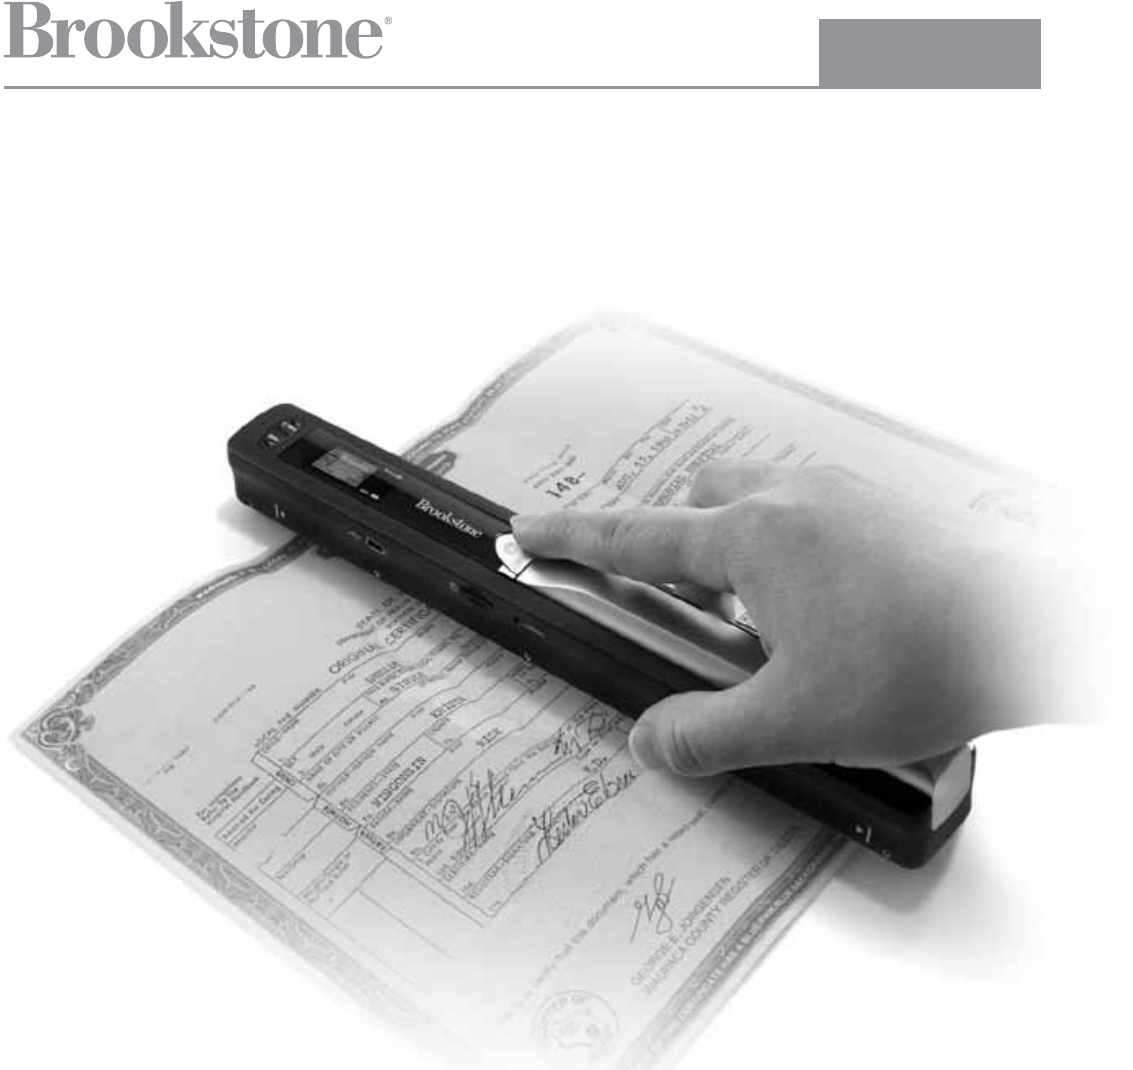
653782_INS_Scanner Wand_Size:5”Wx4.75”H_Output:100%_Prints:1/1,Blk Portable Document and Photo ScannerSCAN RECEIPTS, LETTERS, RECIPES, PHOTOS AND MOR
9VIEWING YOUR SCANS1. Connect the mini USB to the Scanner and then to a USB 2.0 port on your computer. 2. Press the POWER/SCAN button on the scann
10MAC®1. Connect the scanner to your Mac via the USB cable.2. Power the scanner on.3. Locate and open the scanner’s microSD folder on your desktop.
11EDITING AND SAVING AFTER SCANNINGYou may edit and save your scans using the included software (Windows® PC only).1. Load the included software CD
SPECIFICATIONSImage Sensor . . . . . . . . . . . . . . . . . . . . . . . . . . . . . . . . . . . Letter Size Color Contact Image SensorNumber of Sens
13LCD. . . . . . . . . . . . . . . . . . . . . . . . . . . . . . . . . . . . . . . . . . . . Scanning Status DisplayAuto Power Off. . . . . . . . . .
14653782_INS_Scanner Wand_Size:5”Wx4.75”H_Output:100%_Prints:1/1,Blk COMPUTER SYSTEM MINIMUM REQUIREMENTSComputer Requirements . . . . . . . . . . . .
15TROUBLESHOOTINGCannot turn on the scanner.Low battery or the battery was not installed properly.Replace or install the battery properly.Pictures c
16TROUBLESHOOTINGBlurry images.The lens of the scanner is dirty, or the scanner is not being held still while scanning.Clean the lens with a soft,
ONE (1) YEAR LIMITED WARRANTYBrookstone® warrants this product against defects in materials and/or workmanship under normal use for a period of ONE (1
but Brookstone, in so far as permitted by law, provides these products “as is.” This warranty does not apply to: a) damage caused by fai
1TABLE OF CONTENTSWarnings and Cautions . . . . . . . . . . . . . . . . . . . . . . . . . . . . . . . . . . . . . . . . . . . . . . . . . . . . . . .
653782Merrimack, New Hampshire USA 03054 • 800-846-3000 • www.Brookstone.com
2BATTERY PRECAUTIONS• Dispose of the old batteries properly. Do not dispose of the old batteries in a fire.• Do not leave the batteries where a c
LOCATION OF PARTS AND CONTROLS1. Battery Door2. Power/Scan Button3. Error LED Indicator4. LCD Screen5. DPI Resolution Button6. C/BW Button 7. S
LCD SCREEN ICONS1. Selected Effect Indicator (Color/Mono [Black and White])2. microSD Card Indicator3. Battery Indicator4. Selected Resolution Ind
5INSTALLING THE BATTERY1. Slide open and remove the BATTERY DOOR and insert 2 AA alkaline batteries according to the polarity indicators inside the
6CALIBRATING THE SCANNER1. Place the Scanner on the White Balance Calibration Sheet and press the POWER/SCAN button for two seconds to turn the uni
SETTING THE TIME AND DATE1. Turn the Scanner on by pressing the POWER/SCAN button for two seconds.2. Using a thin, blunt object, such as a paper cl
8SETTING THE SCAN MODE1. Turn the Scanner on by pressing the POWER/SCAN button for two seconds.2. By pressing the C/BW button, you may choose betwee
More documents for Scanner Transparancy Adapters Brookstone i-Convert

© 2020, manymanuals.com. All rights reserved. | 0.785 s |
 Manymanuals.com
 Manymanuals.de
 Manymanuals.fr
 Manymanuals.it
 Manymanuals.pl
 Manymanuals.cz
 Manymanuals.es
 Manymanuals-pt.com
Comments to this Manuals